
CNC Workholding for Small Shops: A Practical Guide to Fixturing More Parts in Less Time
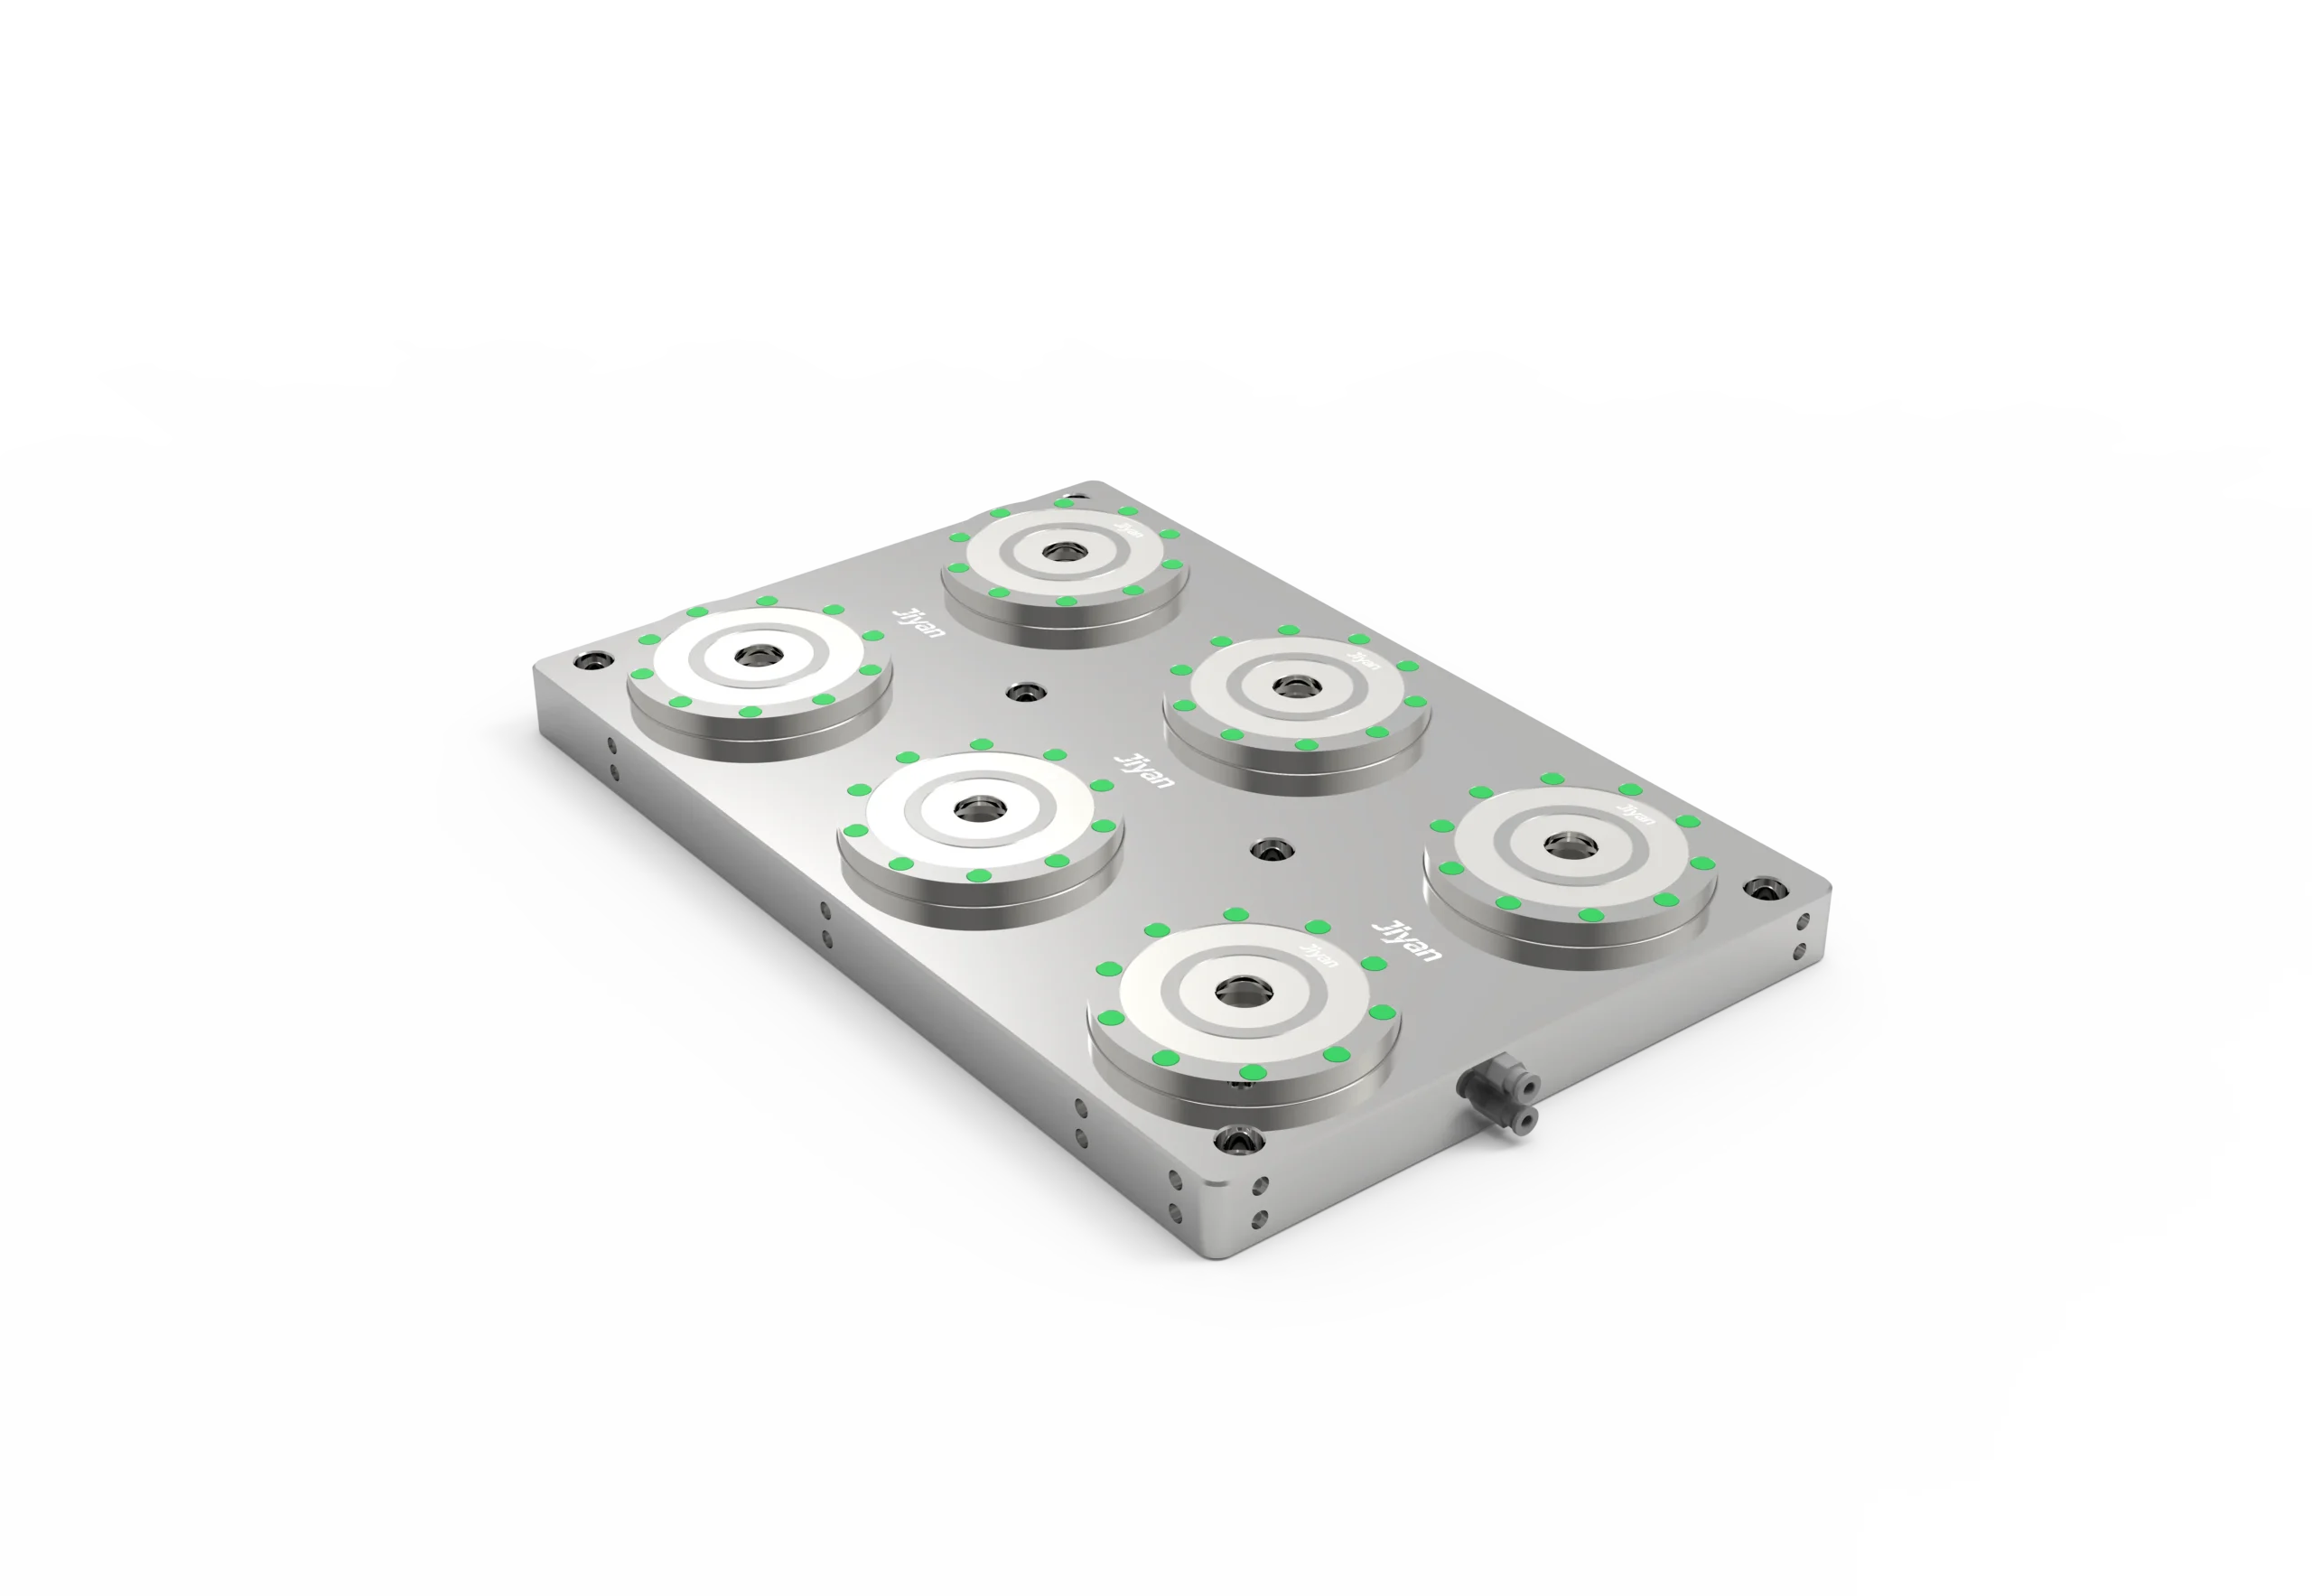
CNC workholding for small shops is a different problem than workholding for a 20-machine floor. You probably run 1–3 machines, jobbing work that changes every day, and there is no dedicated setup person — you’re the programmer, the operator, and the guy who sweeps the floor. The constraint isn’t spindle power. It’s the time you burn loading, indicating, and re-zeroing between jobs.
This guide is written for that shop. No tooling crib, no automation cell, no six-figure fix. Just the workholding changes that actually move the needle when you’re doing more with less.
If you have ever spent longer indicating a fixture than cutting metal, a zero point clamping system is the fix you have been missing. A zero point clamping system is a standardized workholding interface that locates and clamps vises, fixtures, or pallets in the exact same position on the machine table every single time — typically within ±0.005 mm (0.0002 in). Instead of re-indicating and re-zeroing at every job change, you drop the fixture onto a zero point plate, lock it, and start cutting.
Why small-shop workholding is its own discipline
Large shops buy their way out of setup time: pallet pools, robot loaders, a fixture designer on staff. A small shop can’t. But here’s the upside — you also don’t need to. The same few principles that save a big floor thousands of hours will save a small floor a higher percentage of its day, because your ratio of setup to cutting is worse to begin with.
The math is simple. On a three-axis mill running short batches, changeover is often 30–60% of the clock. Cut that in half and you effectively add a half day of spindle time per day — without touching your machine count.
The setup-time math (why it matters more for you)
Large shops lose setup time too, but they bury it under volume. A small shop feels every minute, because there’s less cutting to hide behind. Here’s the arithmetic that should convince you:
Say your mill runs a 480-minute (8-hour) day. If changeover eats 40% of it, you cut for 288 minutes. Drop changeover to 20% — a realistic target with located workholding — and you cut for 384 minutes. That’s 96 extra minutes of spindle time per day from the same machine, about 20% more throughput, with zero new capital.
Now annualize it. 250 working days × 96 minutes = 24,000 minutes = 400 extra spindle-hours a year. At a modest $60/hour shop rate, that’s $24,000 of capacity you already owned and weren’t using. The workholding changes below cost a fraction of that.
The 7-step plan
1. Stop indicating every single part
The fastest setup is the one you don’t do. A self-centering vise locates the workpiece on its centerline automatically, so you never sweep an edge or touch off a corner. Drop the part in, close the jaws, cut.
One two-person shop we work with went from 18 minutes of indicating per first article to under 2 minutes, just by switching repeat parts to a self-centering vise. See our self-centering vs traditional vise breakdown for the numbers. For a deep dive on the whole vise family, our CNC vise complete guide covers types and selection.
2. Buy one locating interface, not another vise
The trap small shops fall into: buying a second vise when what they needed was a repeatable interface. A zero point clamping base sits on your table permanently. Every vise, soft-jaw set, and pallet drops onto it in the same coordinates. Indicate the base once, in the morning, and every swap after that is a 10-second click — no probing, no offset edits.
This is the single highest-leverage change for a small floor. It turns “change the fixture” from a 20-minute ordeal into a coffee-break task. Our zero point clamping system guide explains how the pull-studs and kinematic coupling hold ±0.005 mm.
3. Preset offline while the machine runs
You don’t need a presetter to do this. Build the next job’s fixture, load its program, and stage its raw stock while the current part is cutting. When the cycle ends, the next setup is already in your hand. The machine never waits on you — you wait on the machine.
A pneumatic dual-station vise takes this further: load one station while the other cuts, so the spindle is almost never idle.
4. Standardize your datums
Pick one part zero and one fixture origin and use them everywhere. When every job shares the same reference scheme, your zero point base and your muscle memory both stay consistent. New hires (or the version of you at 5 p.m.) stop making offset mistakes.
5. Batch by fixture, not by purchase order
Group the week’s work by how it’s held, then run all of it. Three jobs that share a vise or a tombstone face become one setup instead of three. You trade a little scheduling flexibility for a lot of spindle time. For a small shop, that trade almost always pays.
6. Use fixture density instead of another machine
If you’re tempted to buy a fourth machine to keep up, first ask whether you’re leaving parts on the table — literally. A four-sided tower or a double-station vise puts 2–6 parts in one cycle. One setup, one program origin, multiple parts. It’s the cheapest “extra machine” you’ll ever buy, and it pairs perfectly with a zero point base so each face references the same datums.
7. Keep a “ready shelf” of staged fixtures
The setup you can grab already-built is the setup you’ll actually use. Dedicate a shelf to your three most common fixtures, pre-loaded with jaws and located on their zero point studs. The 30 seconds to grab a staged fixture beats the 20 minutes to build one from scratch every time.
Which approach when: a quick comparison
Different shops need different first moves. Use this to pick yours, then execute the 7-step plan in order.
| If your pain is… | Start with | Why |
|---|---|---|
| Re-indicating repeat parts | Self-centering vise | Removes edge-finding entirely; fastest payoff |
| Swapping fixtures between jobs | Zero point clamping base | One locate, infinite swaps at ±0.005 mm |
| Spindle idle during load | Pneumatic dual-station vise | Load one station while the other cuts |
| Too few parts per cycle | Four-sided tower | 4–6 parts, one setup, one program origin |
| Only one machine, no backup | Zero point base + staged fixtures | Every saved minute is pure spindle time |
None of these require a second machine. They require a locating strategy — which is the whole point of CNC workholding for small shops.
Material-specific tips that actually matter
Small shops tend to run a mix: prototype aluminum on Monday, hardened steel on Tuesday, tiny brackets on Thursday. The holding method should shift with the material.
- Aluminum and soft alloys: grip a little lighter and use serrated jaws for bite without deformation. Aluminum workhardens and galls, so a clean self-centering vise with soft jaws beats a death-grip traditional vise that marks the part.
- Steel and stainless: stiffness wins. A solid-base vise or a zero point–mounted fixture holds deflection down on heavier cuts. Watch heat — stainless wants lower surface speed and more rigid locating.
- Small or thin parts: parallel stacks and step jaws, not a vise cranked to the stop. A small machine shop workholding setup often means custom soft jaws shaped to the part, which is exactly what a zero point base makes repeatable.
- 5-axis or tombstone work: reference every face to the same datum via the base so a 3+2 job doesn’t need re-zeroing per side.
When NOT to over-invest
The flip side of “buy a locating interface” is knowing when you don’t need one yet. If your work is truly one-off, hand-indicated, never repeated — a $0 parallel-and-touch-probe setup is fine. The payback on located workholding shows up the moment a part repeats three or more times. Most small shops underestimate their repeat rate; the “one-off” that becomes a “ten-off” is where the money is.
Don’t buy a fourth machine to fix a setup problem you could solve with a base and a staged fixture. Add capacity only after steps 1–3 of the plan are maxed.
A small-shop mini story
A jobbing shop in Ohio runs two Haas mills and a couple of manual machines. Owner does quoting, programming, and setup. Before they changed anything, a typical day looked like: 6 hours cutting, 5 hours indicating, loading, and hunting for the right parallels.
They did three things from this list: switched repeat parts to self-centering vises, mounted one zero point base per mill, and started staging fixtures on a shelf. Within a month, cutting time per day went from 6 to just over 9 hours. Same two machines. The owner’s comment: “I didn’t buy speed. I stopped wasting it.”
A second story, from a one-man gunsmith-turned-prototype shop: he was about to finance a second used mill. Instead he put one zero point base on the machine he had and built a “ready shelf” of three staged fixtures. The bottleneck had never been spindle time — it was the 20 minutes between every job while he indicated and hunted for parallels. After the change, he stopped quoting overtime he couldn’t meet, and the second mill went unfinanced. The base paid for itself in the first week of recovered evenings.
The pattern repeats: small shops don’t have a capacity problem, they have a locating problem. Fix the locating and the capacity was there all along.
Common workholding mistakes that quietly kill small-shop throughput
- Indicating by habit. If the part repeats, locate it — don’t touch it off again.
- One giant vise for everything. Match vise size to part size; a 6-inch vise on a 20 mm block wastes jaw travel and stiffness.
- No fixture standard. Three different ways to hold the same family of parts means three times the setup learning.
- Buying machines to fix setups. A base and a staged fixture often beat a new spindle.
How this connects to setup time
Everything above is really one idea: reduce CNC setup time by removing the steps a machine can’t help you with. The 7 proven setup-time strategies go deeper on each — including SMED thinking and offline presetting — if you want the full playbook.
Choosing workholding when floor space and budget are tight
Prioritize in this order:
- One self-centering vise for repeat parts (fastest payoff, lowest cost).
- One zero point clamping base per machine (kills re-indicating forever).
- A dual-station or tower option only once steps 1–2 are maxed out.
You don’t need all of it on day one. Each step pays for the next.
Your first week: a 5-step checklist
You don’t need a project plan. Do this in order, one step per day:
- Monday — Audit your repeats. List the parts you made more than twice last month. Those are your self-centering vise candidates.
- Tuesday — Mount one zero point base. Indicate it once, carefully. Everything else locates to it from now on.
- Wednesday — Stage three fixtures. Build your most common setups, load their jaws, locate them on studs, put them on a shelf within arm’s reach of the mill.
- Thursday — Switch one repeat job. Run a familiar part through the new vise + base. Time the changeover. Compare to last week.
- Friday — Batch by fixture. Look at next week’s queue and group it by how it’s held. Run those groups back-to-back.
By Friday you’ll have hard numbers — minutes saved per job — that you can show yourself (or the boss) prove the change. That’s how a small shop justifies the next step, whether it’s a second base or a dual-station vise.
The CNC vise guide lists the specific models behind the small-shop setups recommended here.
FAQ
What is the best CNC workholding for a small machine shop?
Start with a self-centering vise for repeat parts and one zero point clamping base per machine. That combo removes most indicating and lets you swap fixtures in seconds — the highest-leverage, lowest-cost starting point for a 1–3 machine floor.
How much setup time can a small shop realistically save?
Shops that move to located (vs indicated) workholding typically cut changeover 50–70%. On a floor where setup was 30–60% of the clock, that’s effectively adding a half day of cutting per day without buying a machine.
Do I need a zero point system if I only run one machine?
Yes, and especially then. With no second machine to offload setup, every minute you save on the one you have goes straight to spindle time. One base, indicated once, pays back fast.
Is a self-centering vise worth it for prototyping?
For one-off prototypes, less so — you’ll indicate anyway. For any part you’ll make more than a few times, self-centering pays back in the first repeat. Most small shops underestimate how often “one-off” becomes “ten-off.”
Can zero point bases hold accuracy on used or worn tables?
Yes, because the base defines the datum, not the table. As long as the base mounts flat and the pull-studs are clean, repeatability stays at ±0.005 mm regardless of table wear. That’s the point of a kinematic interface.
What JIYAN builds for small shops
We’re a vertically integrated workholding manufacturer in Dongguan, China — machining, heat treatment, grinding, and CMM inspection all under one roof — so the parts that matter for repeatability (the base reference surfaces, the pull-studs, the vise ways) are made and checked by the same plant that designs them. That vertical control is what holds ±0.005 mm swap after swap, which is exactly the property a small shop needs from workholding it can’t baby-sit.
For a 1–3 machine floor, the starter kit we recommend is modest on purpose: one self-centering vise, one zero point clamping base, and a staged-fixtures shelf. Add a pneumatic dual-station vise only once those are maxed. You can see the full range in our workholding product line.
Build your small-shop workholding kit
You don’t need a catalog of tooling to fixture more parts in less time. You need a locating strategy. Start with a self-centering vise and a zero point base, stage your fixtures, and let the spindle do what you bought it for.
Talk to JIYAN workholding engineers about a setup sized to your machines, or browse the workholding product line to compare vises, bases, and towers.
Fixturing more in less time starts with one base. The shops that win at your size aren’t the ones with the most machines — they’re the ones that stopped losing minutes they already owned. Get a quote →
Also read: 5-Axis Workholding: How to Hold Parts So Your 5th Axis Actually Pays Off
Related guide: Pneumatic Dual-Station Vise: How a 2-Station CNC Vise Doubles Your Spindle Time